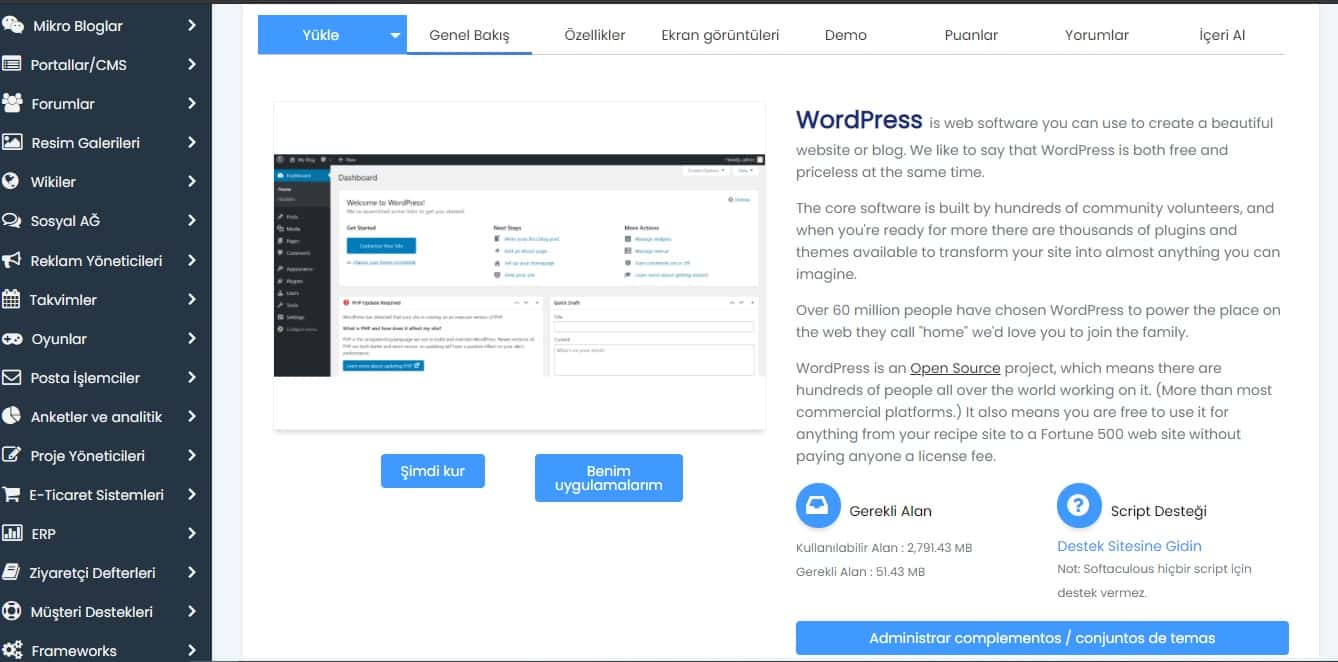
How to Install WordPress?

WordPress reduces the workload a lot for people who deal with the web part compared to websites that are made with regular coding. Many business owners do not want the installation of their website to take months with coding. For this reason, WordPress, which is the most preferred system in the world, is preferred. (42% of the sites in the world use WordPress infrastructure.)

WordPress has a simple interface to use. In addition, the presence of many paid and free themes is another factor that saves time.

In which ways and how can we install WordPress?

There isn't only one answer to this. There are 2 different ways to install WordPress. These are Manual and Automatic installations with the Hosting (Server Service) that you have.

For this, two things are important that we need to have at our disposal. Hosting (Server) and Domain (domain name), after receiving them, we can perform our installation processes.

Let's look at how to install WordPress step by step through both manually and the Cpanel (server) together.

How to Install WordPress by Cpanel? (Automatic Installation)

In order to install WordPress on Cpanel, I will (from my own account) tell you about installing WordPress on a beautiful hosting interface. This is more or less the case with other hosting companies.

  • First of all, I assume that you have a domain name. We are logging in to our beautiful hosting account. If you do not have an account, go to the Customer Login section > New Registration or for direct access to the New Registration page you can use the link here.
  • We log in to our Cpanel by clicking on the Cpanel section in Control Panel Entry section.

  • In the Cpanel, we log in to the MySQL ® Database Wizard section in the databases section and create a database for our site. For example, let's enter a database name called "sitename" and go to the next step.

  • The next step will be a username and password required for our database. Do not forget to make a note of the information you have entered here!

  • In the last step for database setup, all you have to do is click the "All privileges" box on the page you come across and say the next step.

  • Here is a database for one of our sites has been set up and is ready for us. :)
  • Now we come back to the Cpanel interface again and click on the "Add-on Domains" place in the domains section.

  • The "new domain name" section will appear in the page that opens here. Type "yoursitename.com " in this section. The other boxes will fill up by themselves.
  • We come back to the Cpanel and click on “WordPress”, which is located at the very beginning of the “Softaculous App Installer” section, which is located at the very bottom of the page.

  • In order to install WordPress, the “Install now” button appears, and we click on it.

  • On the page that opens, they will ask us for some information, we fill them out, so how? As follows, if you have a single Domain (your domain name), the “installation url” in the “Script Settings” will appear with the domain selected in the section. If it does not come up, you can manually select the site name. Your choice should be as follows. The protocol part is“http://www” and your domain choice is ” yourdomainname.com ”. You can leave the installation directory empty. If your site will not have a subdomain, you can make it in the form of http://domainname.com/dir /.

  • In the “Site Setting” section, you can also leave the desired location as you want. When the site is installed, it is possible to change it from the background again as you like. However, I recommend you to change it. Type the name of your site in the” Site Name“ field and leave the ”Site Description" section blank. Let's get to the Admin Acount settings;

  • The” Admin Account" settings (Attention here!) The are the login information that we will use when entering the back panel of our site. Create the login name and make sure that your passwords comply with the complexity principle. Then you need to remember the “Admin Username and Password”. Don't forget to save it somewhere for that! Write ‘’[email protected]’’ in the” Admin Email" section (any e-mail address can also be written). After all these operations are completed, just click on the “Install” button located at the bottom.
  • After seeing this part, we understand that there are a few steps left to activate our site. Let's do these simple few steps together.

  • In order to continue our installation processes, we click on the "Let's get started!" button.

  • By the way, I hope you still have the database information that you need to save. Because that's what our next step is about :)

  • All we have to do here is just enter our "database name, user name and password". Then click the "send" button.

  • The next step is the information requested from us, which reflects the login information for the background of our site.

  • Here, you can enter the name of your site in the "Site Title" section (even if you enter it incorrectly, it can be changed from the site background).

  • Another information that is requested from you is the "Username and Password", which is necessary to log in to the background of your site. You can change this section yourself as you like.

  • In the last part, you enter a valid E-Mail address. After completing this process, your site will be established. You can check the accuracy of your information by logging in from the background of your site :)

Installing WordPress from Scratch? (Manual Installation)

If you are going to Install WordPress manually, you must first have an up-to-date WordPress file. If you don't have a WordPress file, you can download the file here.

  • We have downloaded our WordPress file, now we are creating a database by going to the Cpanel section located on the Hosting (Server) side.

  • Do not forget to write down the created information somewhere!

  • If you are going to install WordPress for your first website, we are creating a Plugin Domain in the "Plugin Domains" section in Cpanel >Domains.

  • You need to make the new domain name part the name of your site. For example; you can use ‘’yourdomainname.com’’. The subdomain will be automatically. We continue by saying ‘create a domain’.

  • we have created a folder named ‘yourdomainname.com’. Now we can find this folder again in the Cpanel in Files > File Manager.

  • We are uploading the WordPress file that we have downloaded to this folder in the form of "zip".

  • We extract the contents of the installed file to the parent folder because the whole installation file should be there.

  • Then delete the "cgi-bin" file located in our ‘domainname.com’ folder.

  • Now please check the ‘domainname.com’ address. The necessary installation processes will come to this address. Here's why :)

Leave a Reply

Your email address will not be published. Required fields are marked *

Do you want a professional project? Let's talk about it.

© 2025 Dijital Captain Tüm Hakları Saklıdır.

TOP